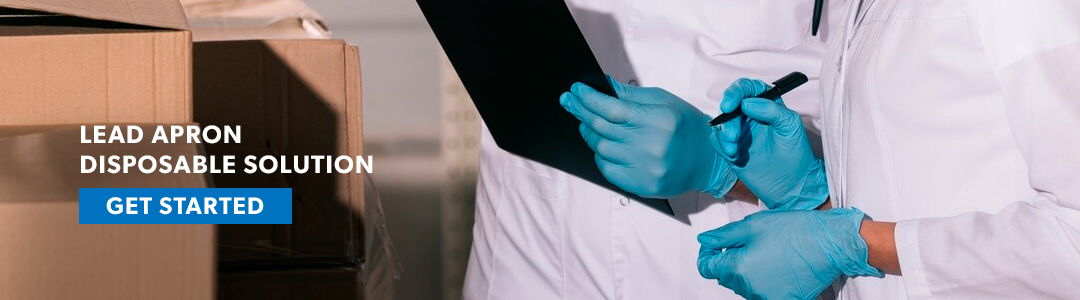
Lead aprons are an essential tool for protecting individuals from harmful radiation exposure in medical, dental, and veterinary settings. Over time, however, lead aprons can become worn or damaged, compromising their effectiveness. This makes regular inspection critical for ensuring optimal radiation protection. But when should you inspect lead aprons, and what is the best method for doing so? In this blog, we’ll guide you through the process of when and how to inspect lead aprons to ensure they remain safe and effective.
Lead aprons should be inspected at regular intervals to ensure they continue to provide the necessary level of protection. As a general rule, lead aprons should be inspected:
At Initial Receipt
Inspect any new apron immediately after receiving it to ensure it is free from manufacturing defects.
Before Each Use
Perform a quick visual inspection before each use to check for obvious damage, such as tears or creases.
Annually
In addition to daily inspections, a thorough inspection should be performed at least once a year as part of your facility’s routine maintenance.
After Suspected Damage
If there is any reason to believe the apron has been compromised—such as after being dropped, folded incorrectly, or exposed to extreme conditions—a detailed inspection should be carried out.
Performing a thorough inspection of lead aprons involves two main steps: visual inspection and a more detailed evaluation using imaging equipment.
A visual inspection is the first step in identifying potential issues with lead aprons. This process involves:
Looking for Tears, Cracks, or Creases: Examine both the exterior fabric and the inner core. Look for visible damage such as tears, holes, or deep creases, especially in high-use areas like the shoulders and ties.
Checking for Wear and Tear at Seams: The seams of the apron, especially around the neck and armholes, are areas that can experience the most stress. Check for fraying, loose stitching, or gaps at the seams.
Feeling for Hard Spots or Thin Areas: Run your hands over the apron to detect any thin or hard spots that could indicate damage to the lead or protective core material.


For a more thorough inspection, many facilities use fluoroscopy or X-ray imaging to detect hidden cracks or holes in the lead core that may not be visible to the naked eye.
Place the Apron Under Fluoroscopy or X-ray: This method involves passing the apron through a low-dose X-ray machine to highlight any internal damage. Look for dark spots on the image, which could indicate areas where the lead is missing or compromised.
Document and Tag Damaged Areas: If any defects are found, mark the apron with a tag or note indicating the location of the damage. Depending on the extent of the damage, you may decide to either repair or retire the apron from use.
If your inspection reveals damage to the apron, the next steps depend on the severity of the damage:
Minor Damage
Small tears or cracks in non-essential areas (like near the edges) may be repairable. Many manufacturers offer repair services, or you can use an apron repair kit.
Severe Damage
If the apron has large tears, holes, or significant thinning in the protective core, it should be retired immediately. Using a damaged apron can put the wearer at risk of radiation exposure.
Regular inspection of lead aprons is essential for maintaining effective radiation protection. By performing both visual and imaging inspections on a routine basis, you can ensure your aprons remain in good condition and continue to provide the protection needed in high-radiation environments. At Phillips Safety, we recommend checking your aprons frequently and addressing any signs of wear and tear immediately to prevent unnecessary risk to staff and patients.
If you’re unsure about how to properly inspect or maintain your lead aprons, feel free to contact us for guidance or support. Your safety is our priority!
Stay on top of the latest news about new products all of the trends in the industry.
DISCOVER NOWSign up for exclusive offers and news.